Holding Your Drums Sticks
Whether you’re a beginner, intermediate, or advanced, becoming a great drummer means adopting good habits from day one. The first step everyone should know when they learn to play the drums, is how to hold your sticks properly. You might think this is as simple as “pick them up, grip them, then bang away”, but when I start teaching with a new student, holding the sticks is #1 on my list of tips for playing drums the correctly.
So you’ve got some drumsticks and a practice pad, or a snare, or even a full drum kit; you can keep the sticks in your hands and hit things with them, why is it important to learn to hold them properly? First of all: when you hold your sticks the correct way, it’s easier to play comfortably and you will also play quicker. Secondly, playing with improper technique can cause permanent damage to your wrists and fingers. Carpal tunnel and arthritis are real threats to drummers with bad habits. Now that you know why you should hold a stick properly, “Where do I start?”, you might ask…
The fulcrum.
To find the fulcrum point (the place on the stick where the real holding gets done):
-

- Step one.
-
- Step two.
-
- Step three.
-
- Steps four and five.
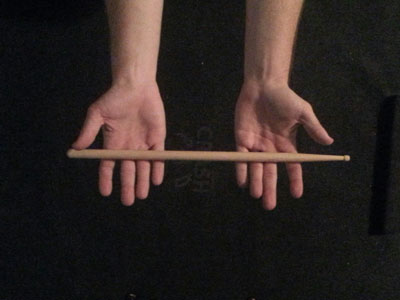
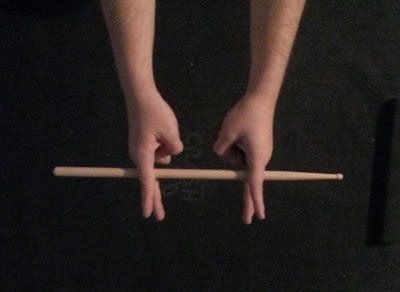
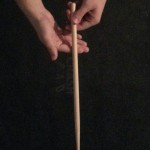
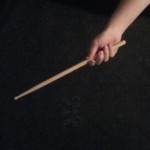
- Take one of your drumsticks and hold it sideways across both hands with open palms facing up. Make sure the back end of the stick is in your dominant hand.
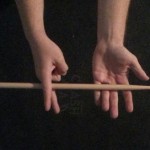
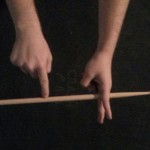
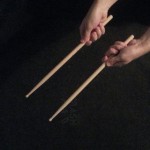
- Now, with your dominant hand, make a “peace sign” with your index and middle finger, and place the drum stick in between your index and middle fingers.
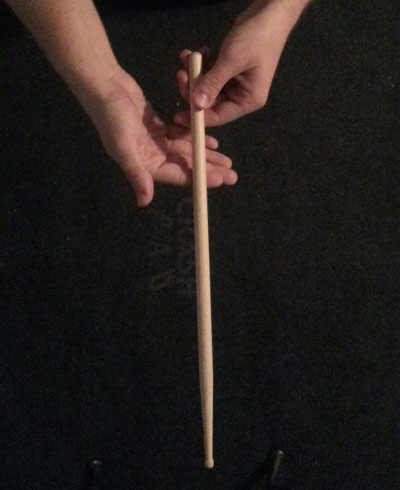
- With your non-dominant hand, make a peace sign, and place the other end of the drum stick in between your other index and middle fingers.
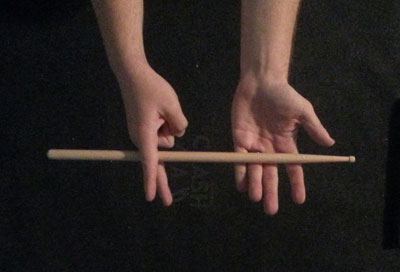
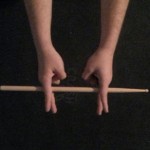
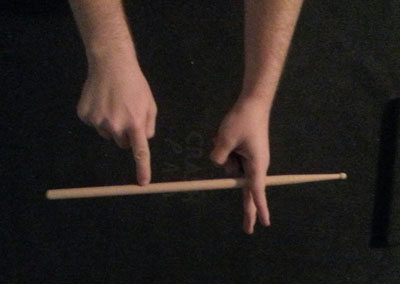
- Your two “peace signs” should be splitting the drums into 3 even sections. Try to make these 3 sections as evenly spaced as possible.
- After you have divided the stick into 3 sections, where your dominant hand “peace sign” is placed is your fulcrum point.
- Its a good idea to mark the spot with a permanent marker for easy reference in the future. The fulcrum point is the exact point at which you will hold the stick.
Now that we have the fulcrum point, let’s place the stick properly.
-
- Step one.

-
- Step two.
-
- Step two.
-
- Step three.
-
- Step four.

-
- Step four.

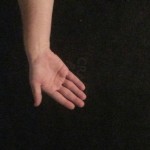
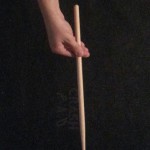
- Take the stick in your non-dominant hand and open up your dominant hand with your palm facing you.
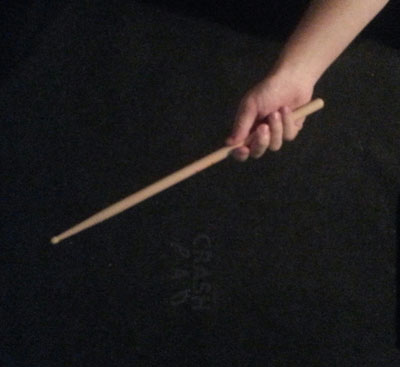
- With your dominant hand, find your fulcrum point and place the stick so that the fulcrum point rests in the first knuckle of your index finger, then place your thumb on the opposite side of the stick and pinch gently. (It doesn’t take much to hold onto the stick). This is the majority of where your grip takes place.
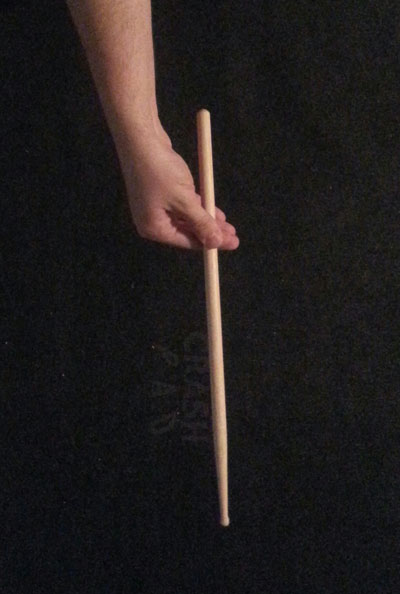
- Take your other fingers and curl them gently around the stick, bare in mind that your index finger and thumb are the real gripping points.
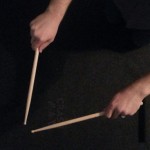
- Take your other stick in your non-dominant hand, then try and match the grip you’ve just created in your dominant hand.
Now that you are holding your sticks the right way, start rockin’ out!
Checklist:
- Find your fulcrum point
- Place the stick between the first knuckle of your index finger and your thumb, and pinch
- Curl your other fingers around the stick
- Don’t grip too tight
- Rock on!
~ Philip Hill (Music By Ross Instructor – Drums and Vocals)
Sitting at the Drumset
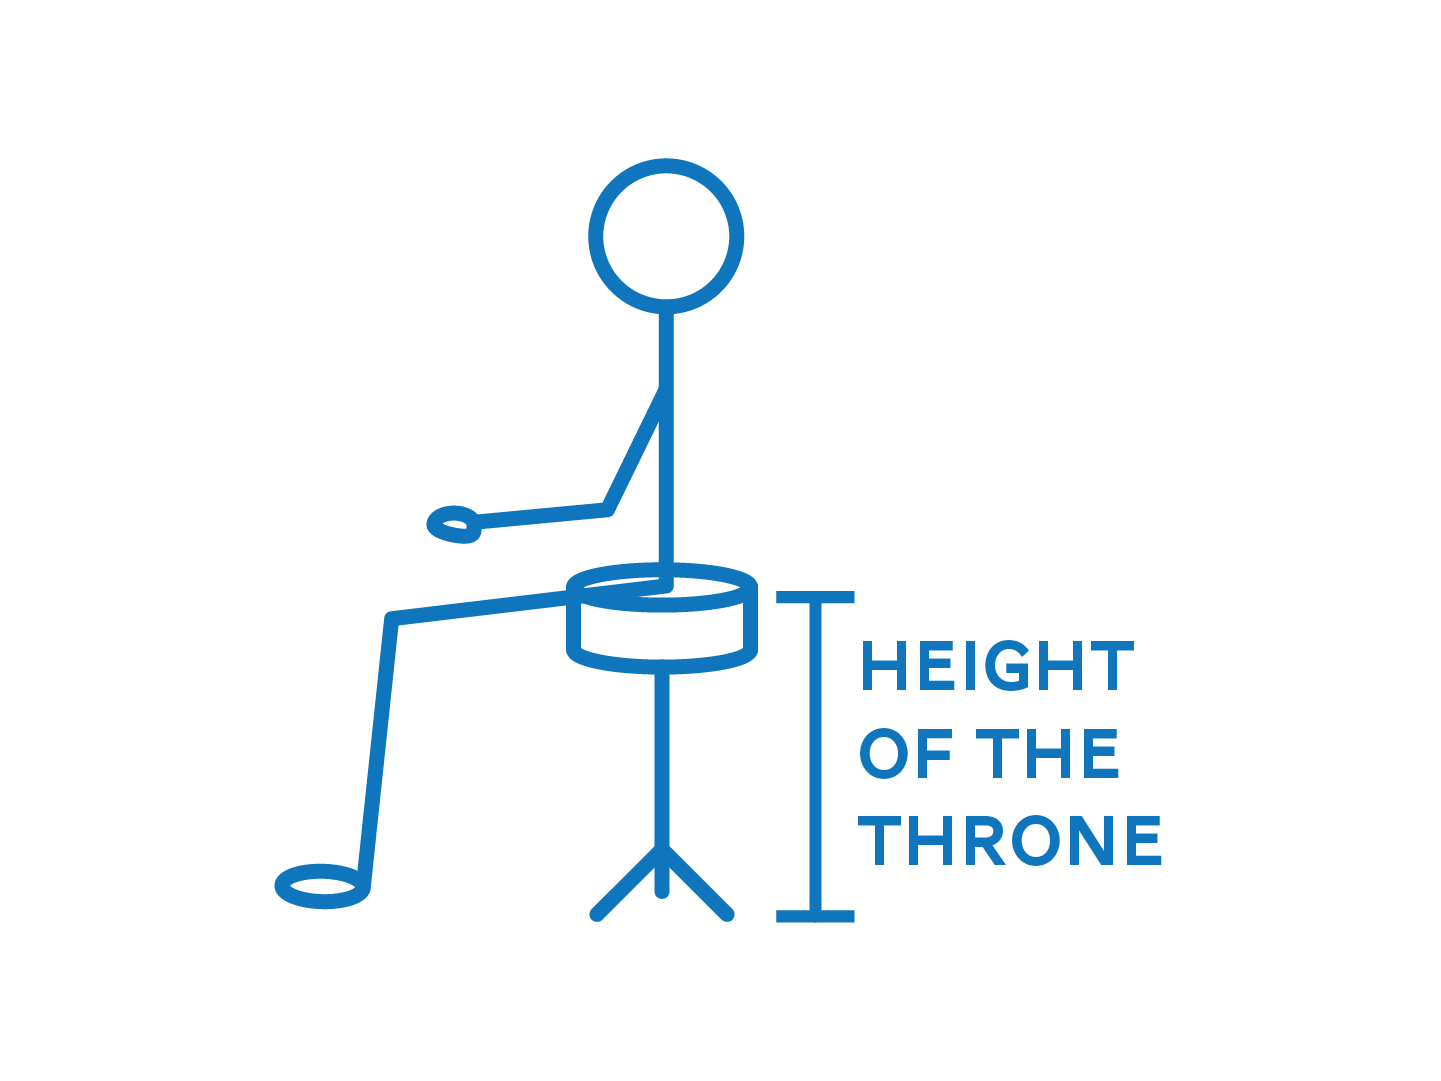
Drum throne
The height of your drum seat (usually called a “throne”) should be adjusted so that the upper part of your legs are slightly sloped downward – a little below “flat” but not sloped too much.
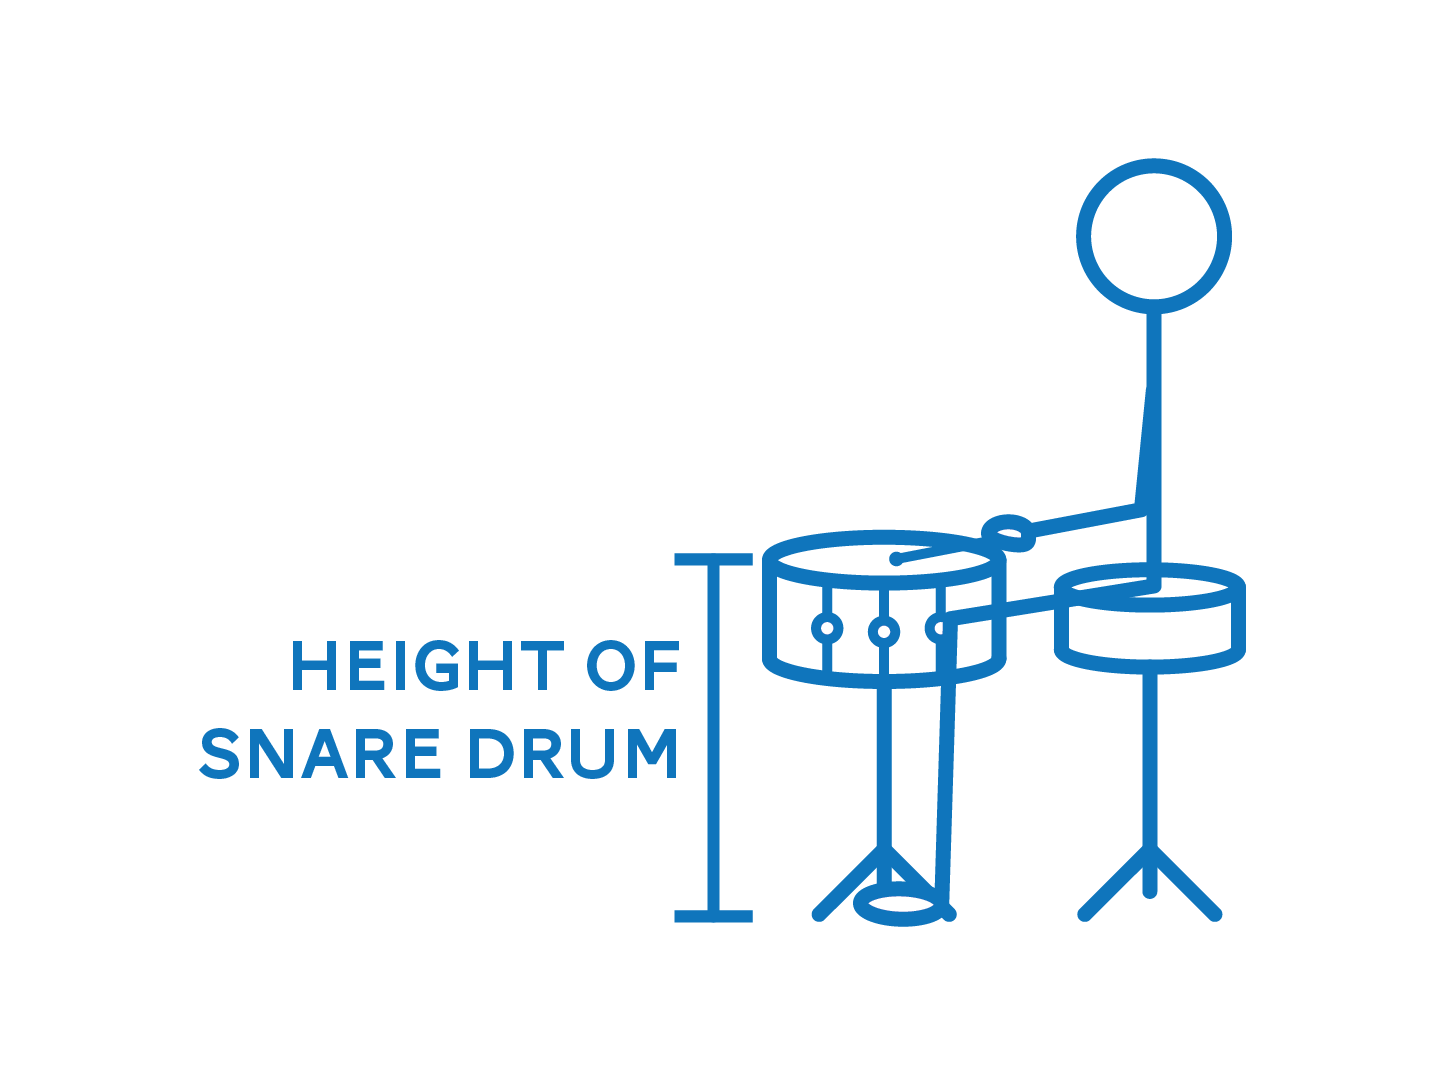
Snare drum
Once the throne height is set, sit in front of your snare drum, which should be directly in front of the center of your body. The height of the snare drum should be adjusted so that the arms are flat and parallel to the floor when the bead of the stick sits in the center of the drum. The forearm, wrist, and stick should all be flat. Shoulders should be relaxed so that your upper arms and elbows fall straight towards the floor.
You may notice that some drummers prefer to tilt the snare drum forwards or backwards. This often depends on the technique and style of music that an experienced drummer plays. If you are a beginner, I suggest that you start with NO tilt, keeping the drum perfectly flat.
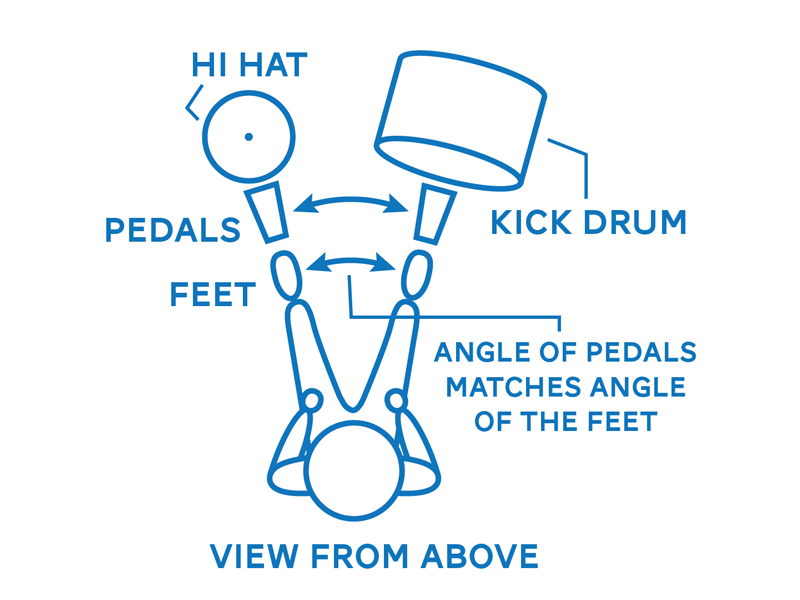
Pedals (angle)
For the moment, let’s leave the snare drum away from the drumset; set your throne close to the pedals of the kick drum (right foot) and hi hat (left foot). First, place the instruments so that the pedals are symmetrical and the same distance from the center of your body. Separate your knees slightly, and notice that your feet might land in a position that looks close to this:
Your legs and feet should be apart, but comfortable. Now line up the two instruments so that the pedals sit right underneath your feet.
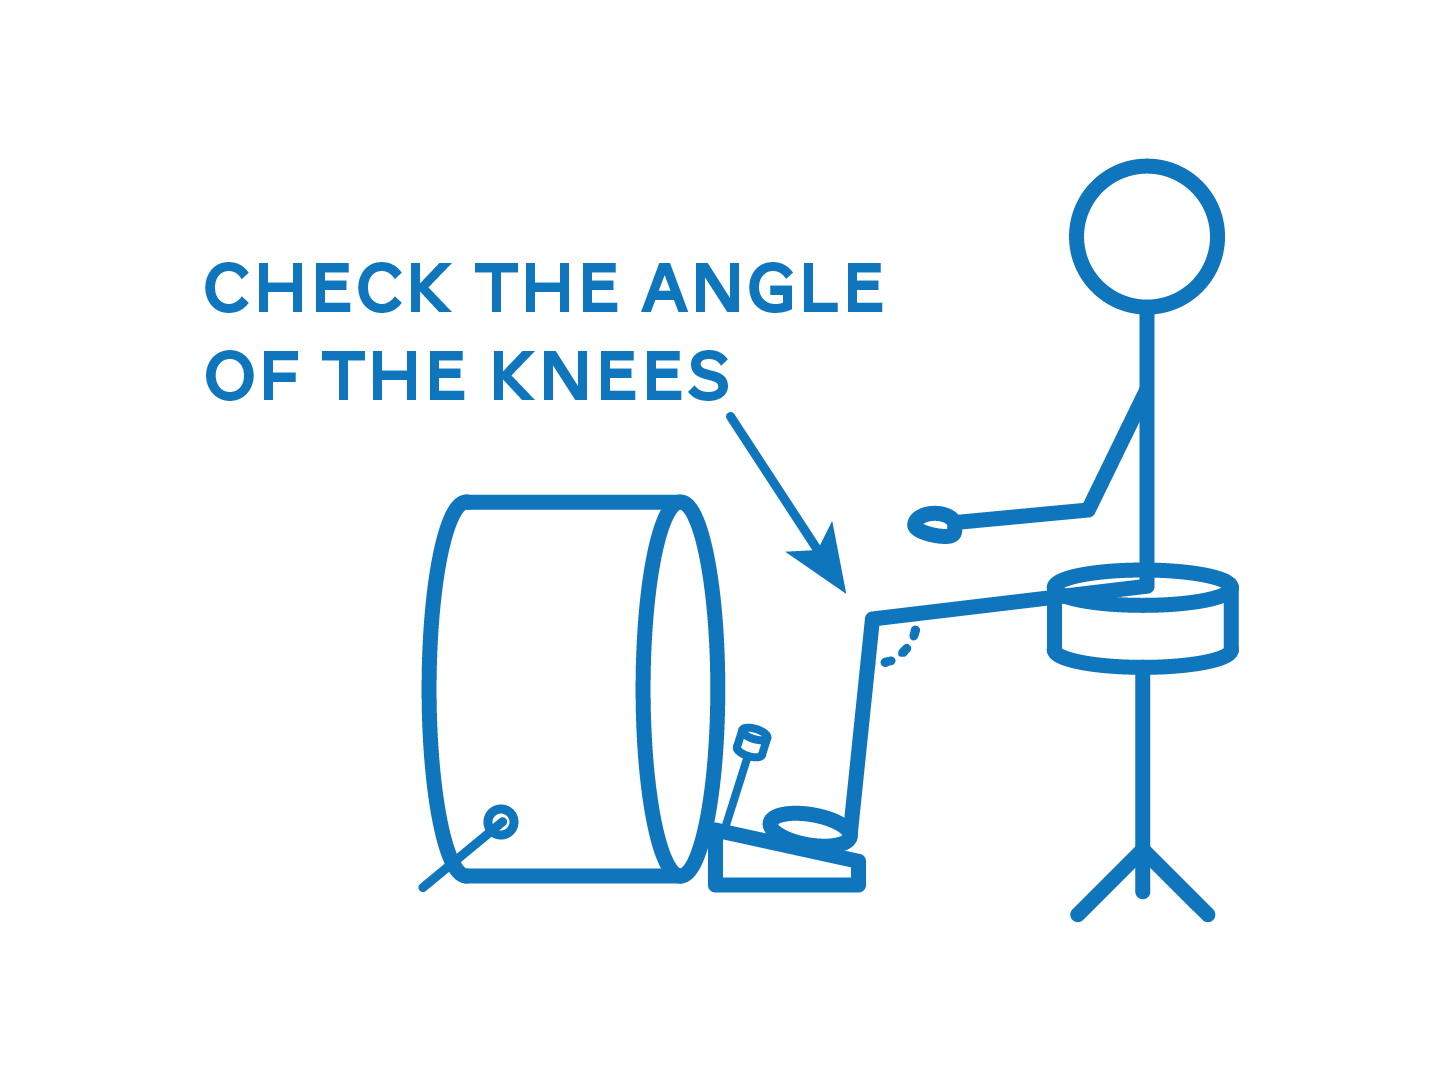
Pedals (distance)
Once the angle of the pedals is set, you will notice that moving the throne close to or far away from them causes the angle of your knees to change. The best angle for your knees is slightly greater than 90*. Check to make sure that the heel does not sit behind the knee:
Once you are comfortable with your feet on the pedals, place the snare drum back in front of you. It will probably sit very close to the kick drum, and should be halfway between the two pedals.
Now that you have the throne and snare drum at the correct height, and the pedals in the right position, you should be able to practice for hours and hours without getting too sore or causing any type of strain or mild injury. At the very least, the snare drum, kick drum and hi hat form the basis for practicing any beginning exercises or grooves.
Stay tuned for the more Drum Tips!
~ Derron Bell (Music By Ross Instructor – Drums, Piano, Percussion, Marimba)